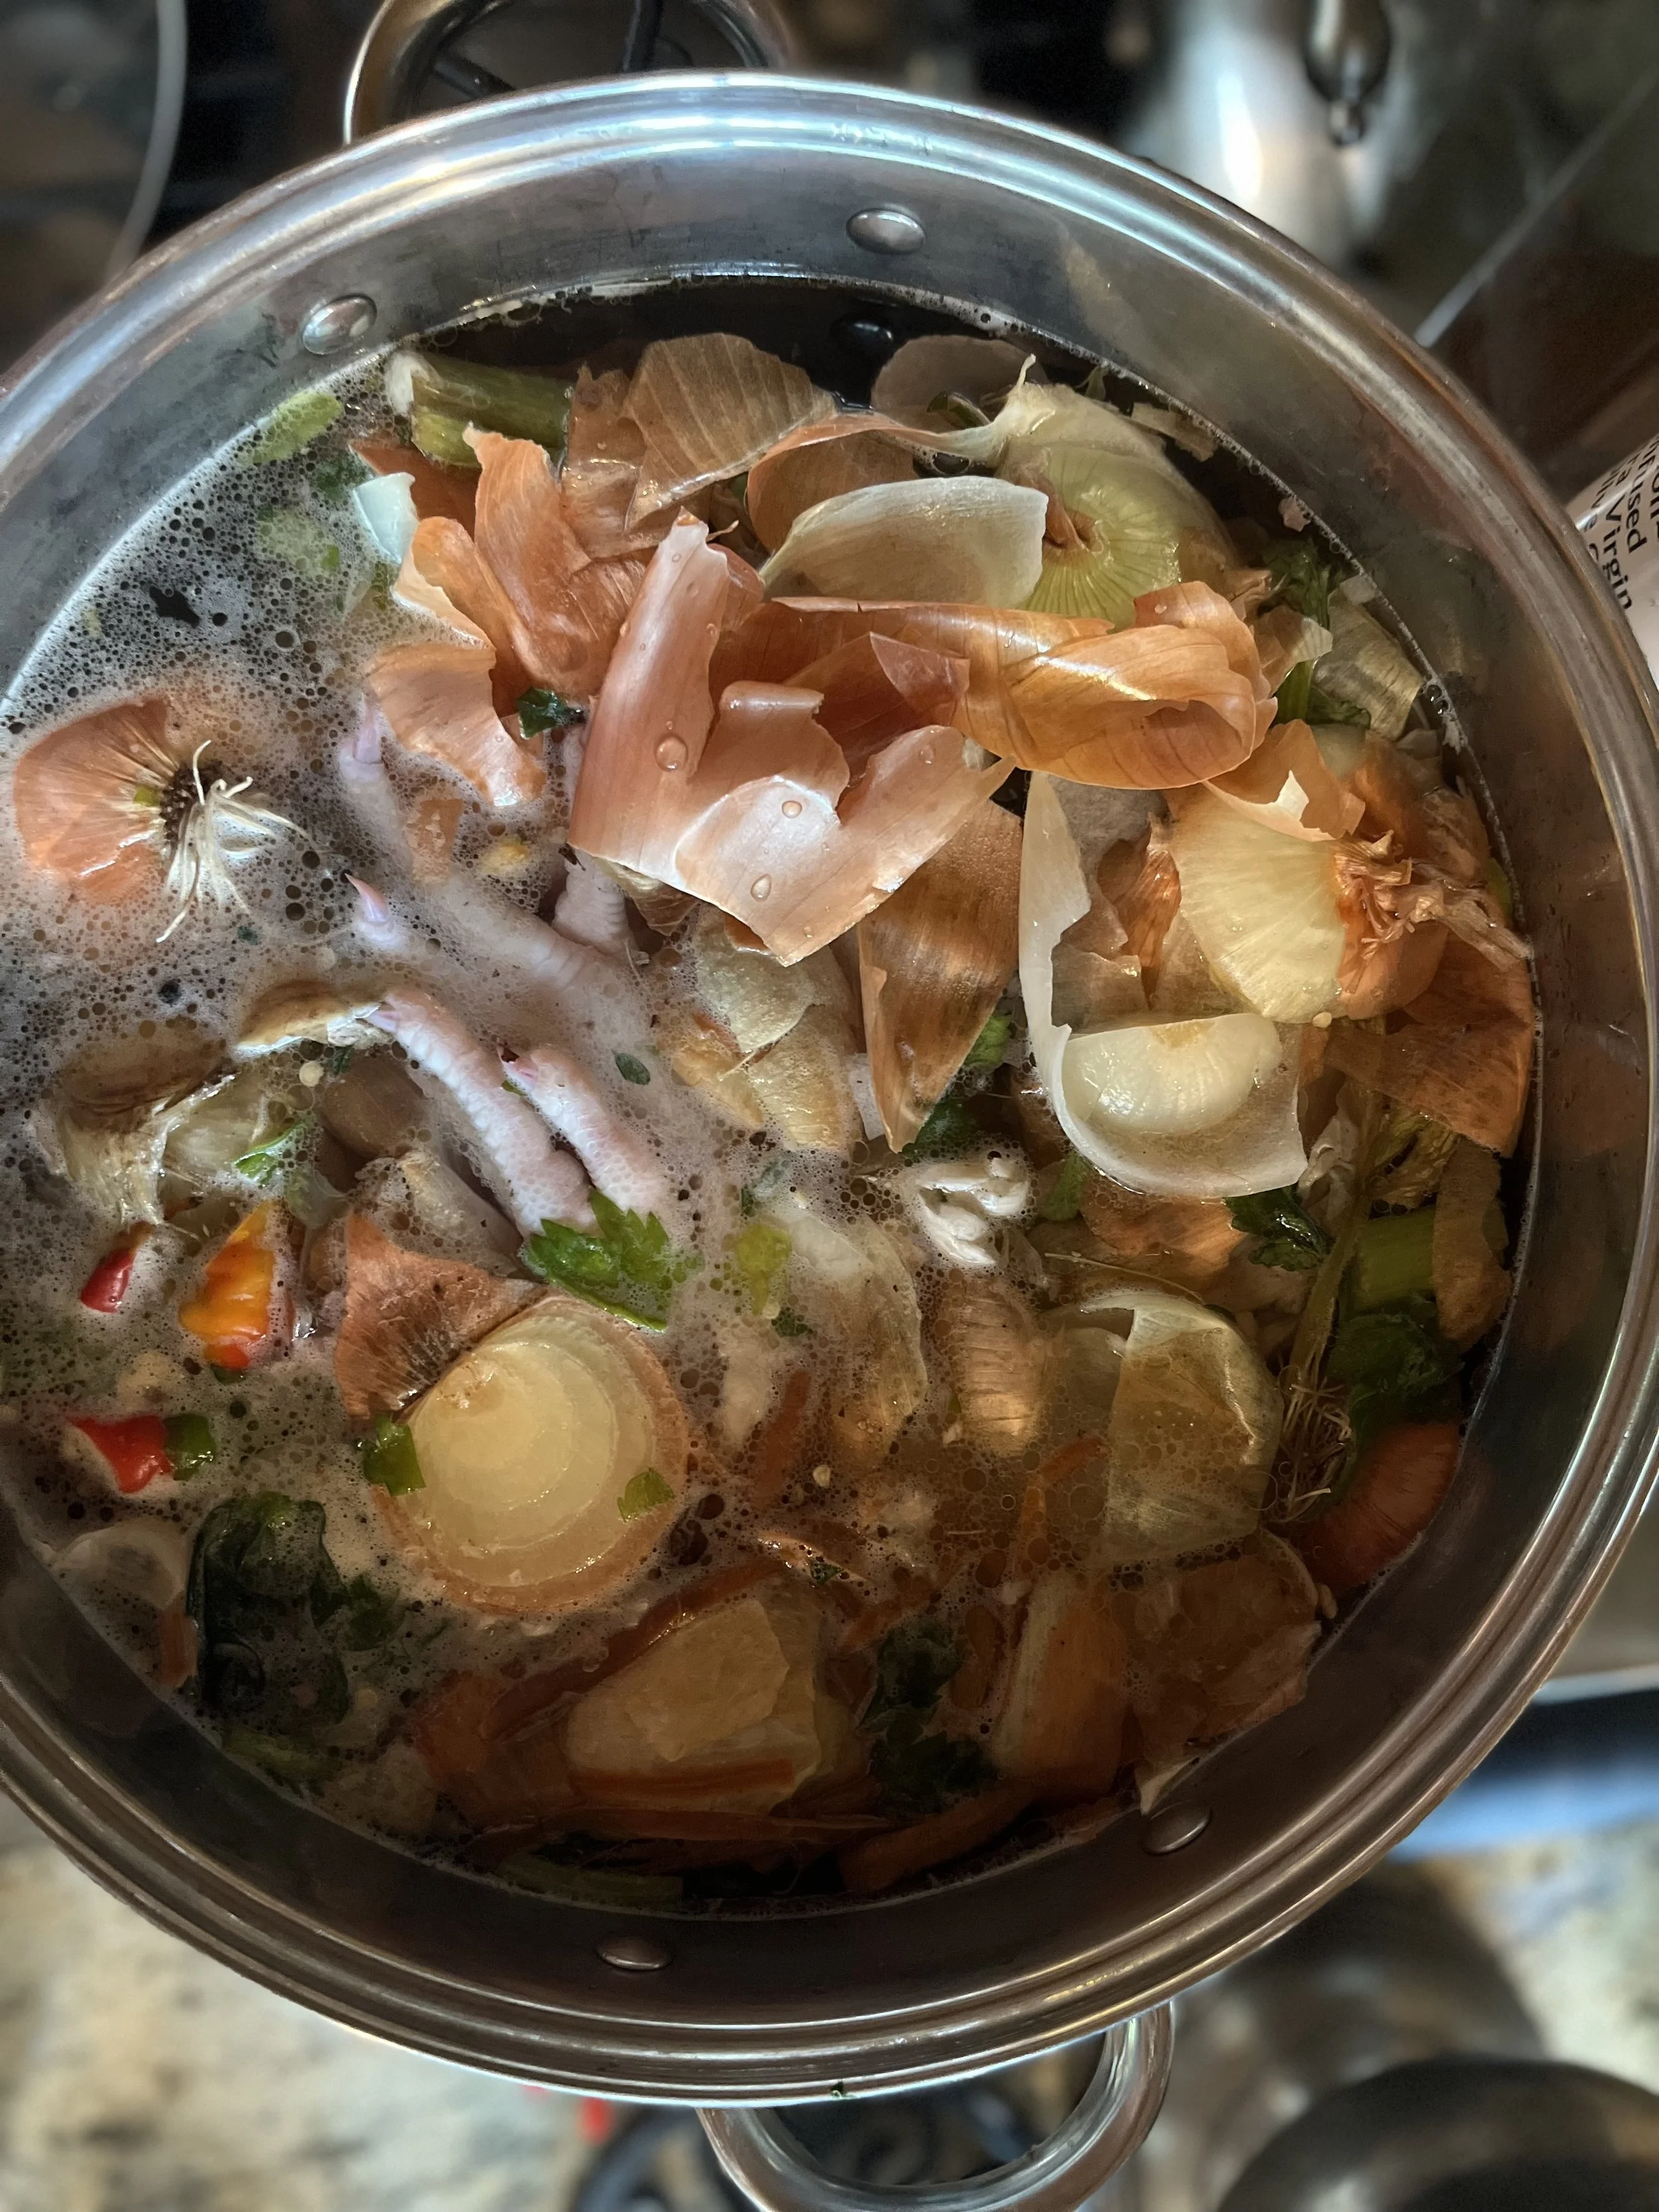
Large Batch Chicken Bone Broth
Bone Broth is fast food in our kitchen. We use it almost daily and my kids love to grab it for a quick lunch or occasionally breakfast if it’s one of those kind of days. This method turns things I used to think of as waste years ago into something nourishing and precious. In our area, bone broth can be as much as $8.00 a jar and we use 20-30 jars a month. The only thing I have to buy now is the salt, pepper, vinegar, and jar lids. That’s $2880 vs maybe $35 per year and homemade broth tastes so much better!
Large Batch Bone Broth - Don’t be afraid of the chicken feet , they are great for collagen!
I always season my broth and I want it to taste great and be ready to go. This is optional, a lot of people like to keep it plain, but honestly I have never once regretted having it seasoned. We keep it simple and neutral, but delicious. The seasonings listed here give you a start, but once your broth is finished do a final check and adjust the seasonings to your personal taste.
I pressure can all of our bone broth. I found that it always went bad or was forgotten in the fridge and I never could remember to defrost it before it was needed when kept in the freezer. Canned, in quarts and pints, it is always ready to go in the quantities that we need. You do HAVE to can broth in a pressure canner, not a water bath, because it is a low acid food.
We always cook ours in a large batch because it makes canning more worthwhile and then we don’t feel like we have to make broth every week. I also cook it on the stove top, not in a pressure cooker or crockpot. Cooking it long and slow on the stove concentrates the flavors and makes for an amazing flavor and awesome health benefits. The concentrated broth can always be diluted as needed later.
Ingredients
6-8 Roasted Chicken Carcasses (the bones) You can use raw chicken bones, but roasted tastes amazing.
2-4 Chicken Feet, if available. We raise our own chickens and we always save our feet. They add an amazing dose of collagen to the broth and you can often buy them at your local farmers market. If you don’t have them it will still be great.
Vegetable Scraps- Approximately two gallon bags (Onion and Garlic Skins, Celery Trimmings, Bell Pepper Cores, Carrot Peels and Tops) We always have bags in the freezer that we keep adding too. You can use the whole vegetables if you haven’t been saving the scraps.
1/3 cup High Quality Salt- we use a French Grey Salt. It has an amazing flavor and so many more minerals than plain table salt.
2/3 Cup Whole Black Peppercorns
Bay Leaves- I just grab a handful from the bay tree in our garden, but you can use dried if needed.
I used fresh Italian parsley in this batch just because I was cleaning out the garden beds and didn’t want it to go to waste. You can add any fresh herbs you want but I like to just use those that will impart a neutral flavor.
1/3 cup Raw Apple Cider Vinegar
Water to fill pot completely
Add feet, carcasses, vegetables scraps, seasonings, vinegar, and water to a stainless pot. Bring to a boil, then turn down to a very low simmer for 24. We leave it running overnight without issue.
Note: If you are not using whole vegetable instead of scraps, do not add whole garlic at the beginning, though the skins are fine. I find that if using whole garlic, it does best added a few hours from the end or you can leave it out all together without sacrificing flavor. Onions can be tossed in whole not cutting or peeling required.
In the morning turn off and let the pot cool enough to be able to lift it safely with pot holders. Pour through a strainer into one or two smaller pots. If you are not canning you will need to check and adjust your flavors now, this usually means adding more salt if needed, before you chill it. If canning you can wait and adjust the flavors at the time of canning.
Let cool just long enough to be able to put in fridge. You really don’t want it hanging out in that 80* range for very long. We have an empty fridge in our barn that I use so I can put it in without worrying about it affecting the temperature of the fridge and other food. Refrigerate until the fat crusts on top, if you are in a hurry and will can it you can put it in a freezer for a little bit. You can use a large slotted spoon or your hand. We do this step because too much fat can interfere with the canning process and it can affect the flavor when eating it as straight broth. This step is optional but one I always prefer to do.
Once cooled and skimmed it is ready to use or save however you prefer.
